
Manage your projects
OpenQDA lets you organize your work in projects. This page intends to present the main project management features.
Project page and entries
Your projects are listed on the projects page, which you can reach by clicking on the projects icon on the navigation bar.
Every created project is listed on the left panel and contains the project name, the date of last update and some icons:

The key icon indicates projects created by yourself. If you were added to a project by another member then this icon will not be displayed.
This users icon indicates that a project has a team.
The documents icon shows the number of Sources you (or your team members) have already added to this project.
Select a project
After you successfully signed in to OpenQDA you may find there is no current project selected:
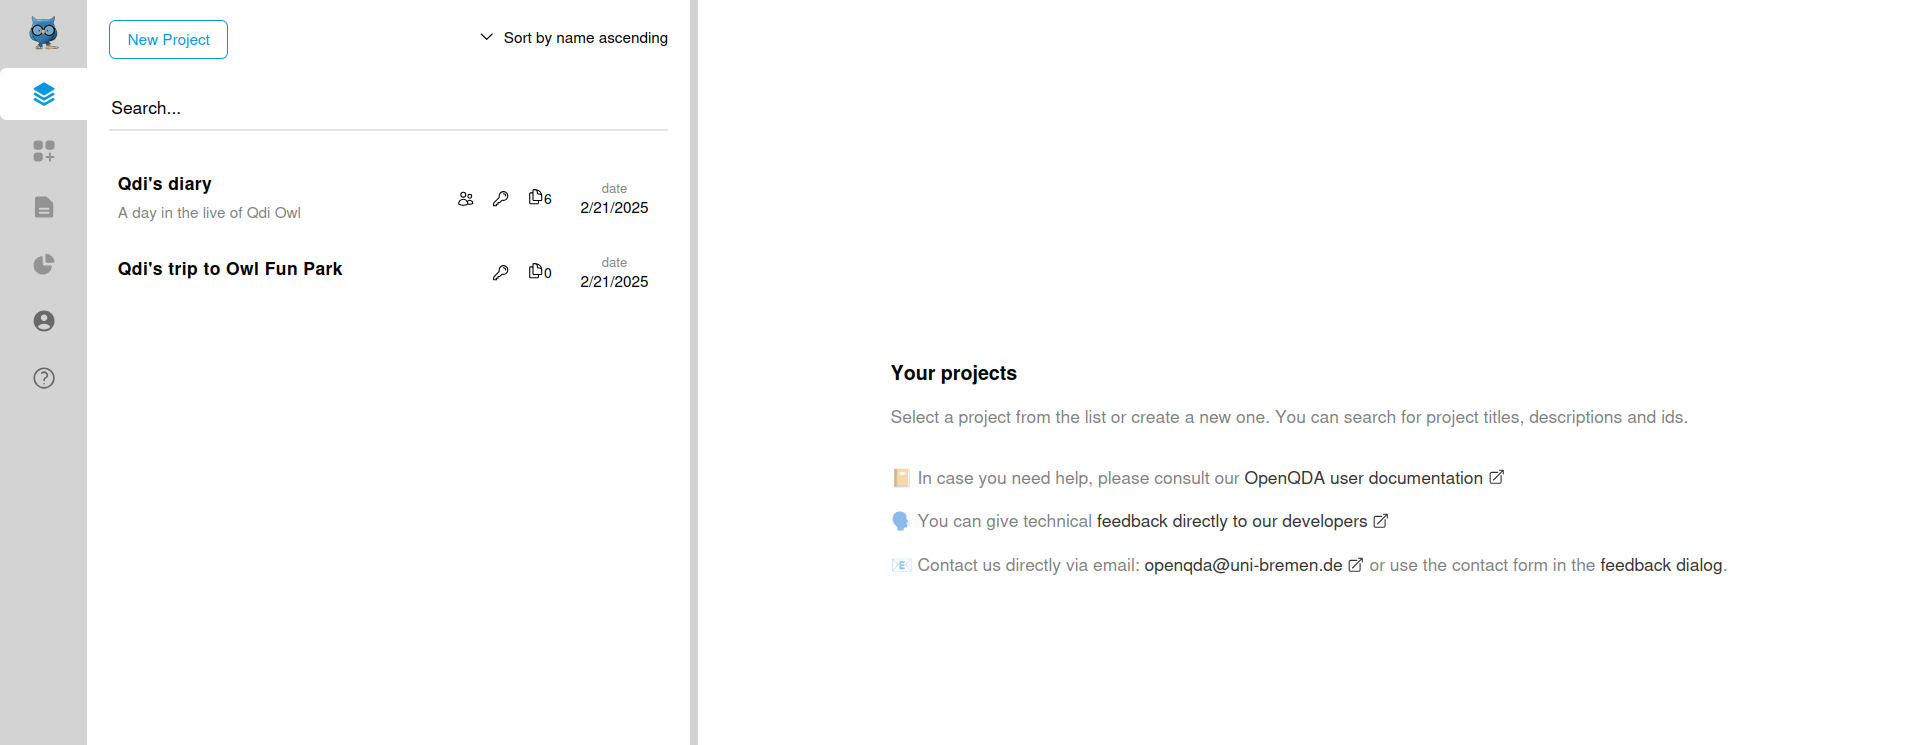
In this case you will not be able to navigate to preparation, coding or analysis and you will have to select an existing project or create a new one.
Click on a project entry to select it as the current project, which in turn opens the project management views in the right panel.
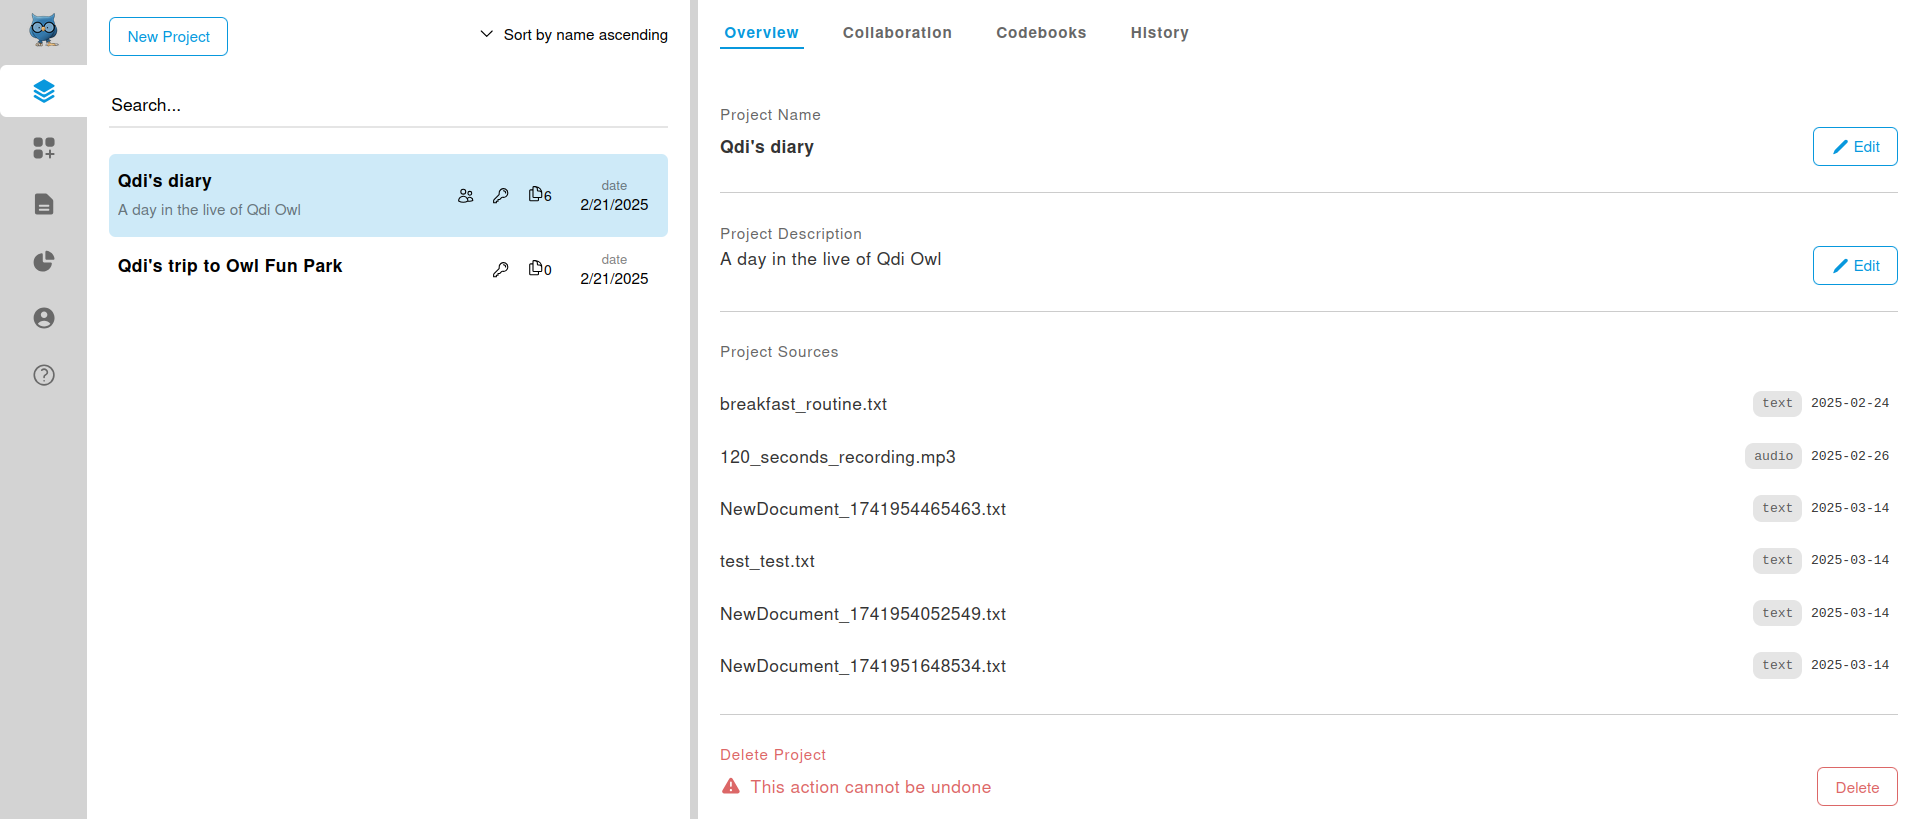
Overview
This is the default view for a selected project. Here you can edit your project information, view and select the added sources, or delete the entire project, including all its data.
Your project is organized in different views:
Each comes with own features, functionality and complexity, which we want to present you in the following sections.
Delete a project
CAUTION
⚠️ Deleting a project is final and permanent. There is no way to recover a deleted project, not by yourself (self-hosted), nor by the admins (managed).
If you intend to delete your project then click on "Delete". A prompt appears, asking you to type the project's name exactly as given (case- and whitespace sensitive).
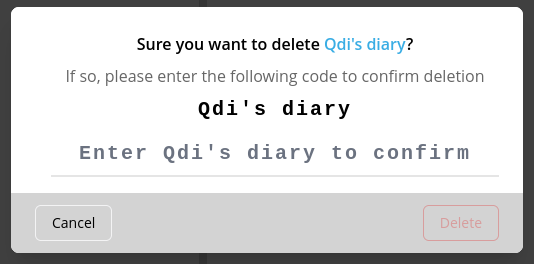
The delete button will only become clickable, when the project name is entered as required:

Now you can click on "Delete". The project and all its data is deleted, and you will be redirected to the project overview, where no project is selected.